In the Small to Large Challenge I tried something a little different. I'm often taking jeans that are too small and making something larger, so I tried with 2 pink pullovers and a chambray shirt.
You can vote this week at The Renegade Seamstress Blog.
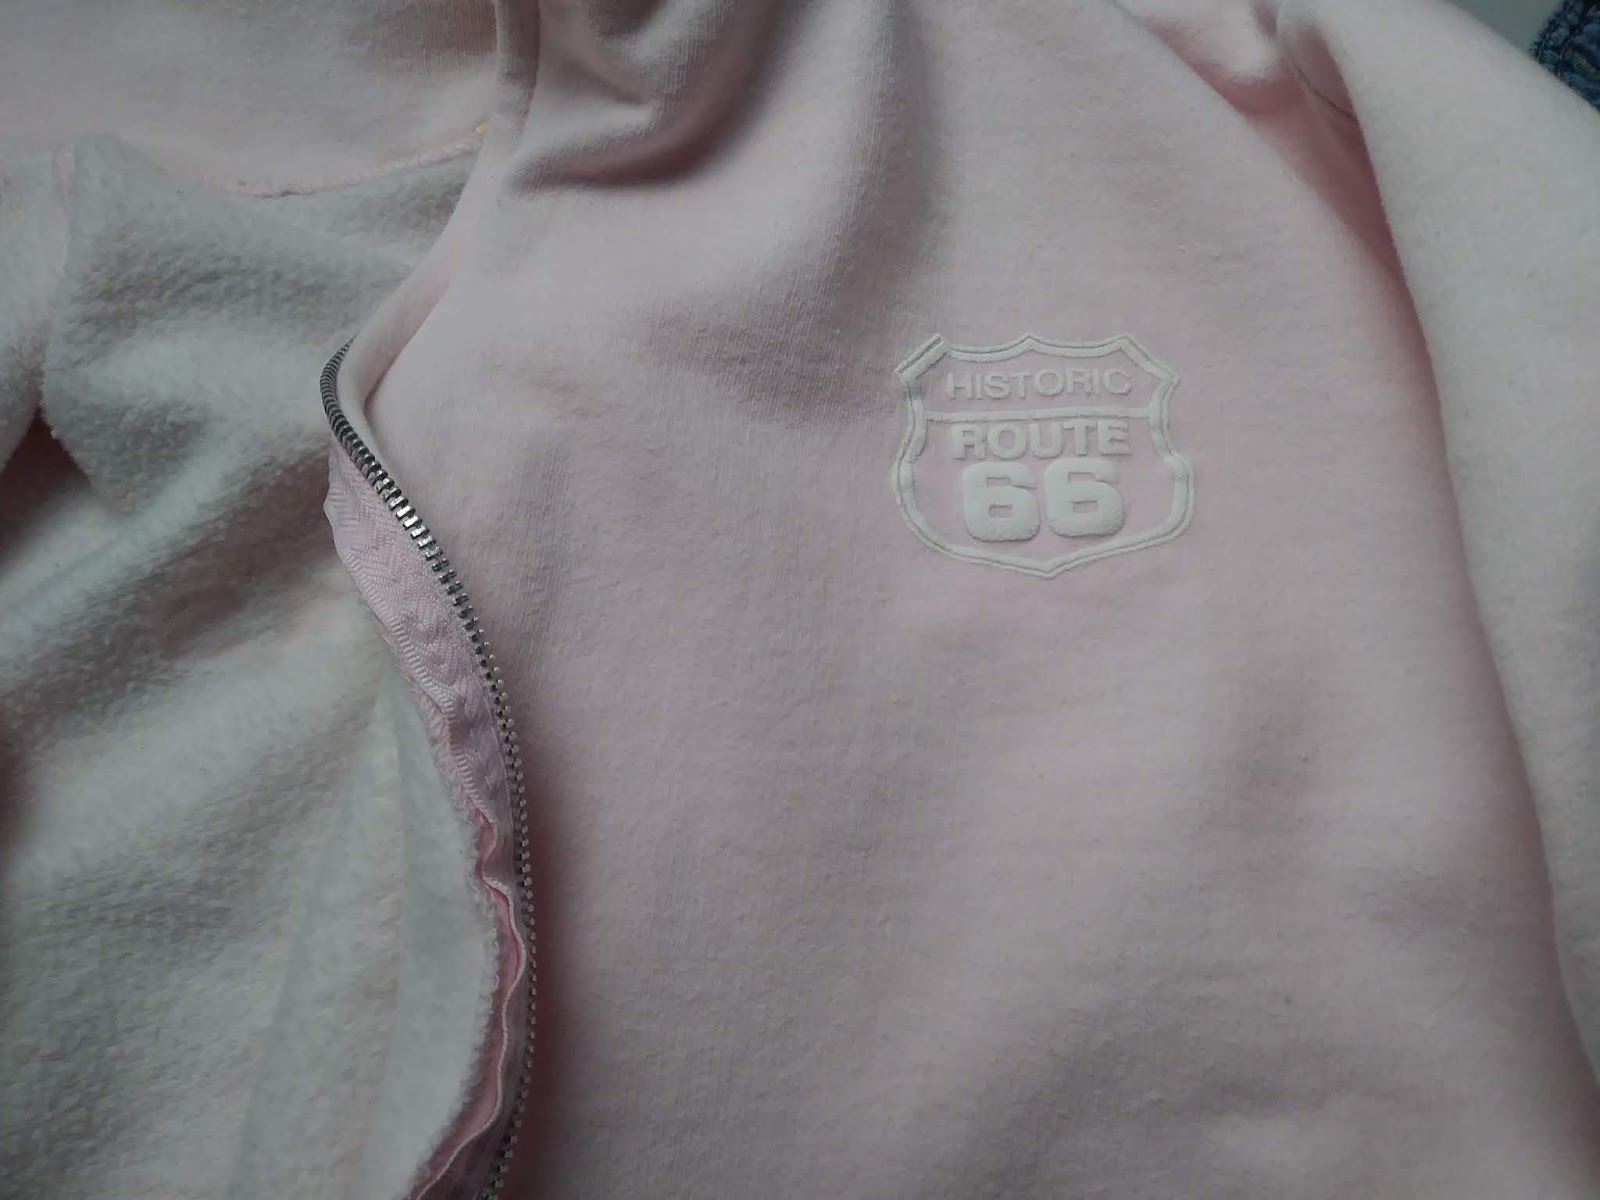
This is what I started with:

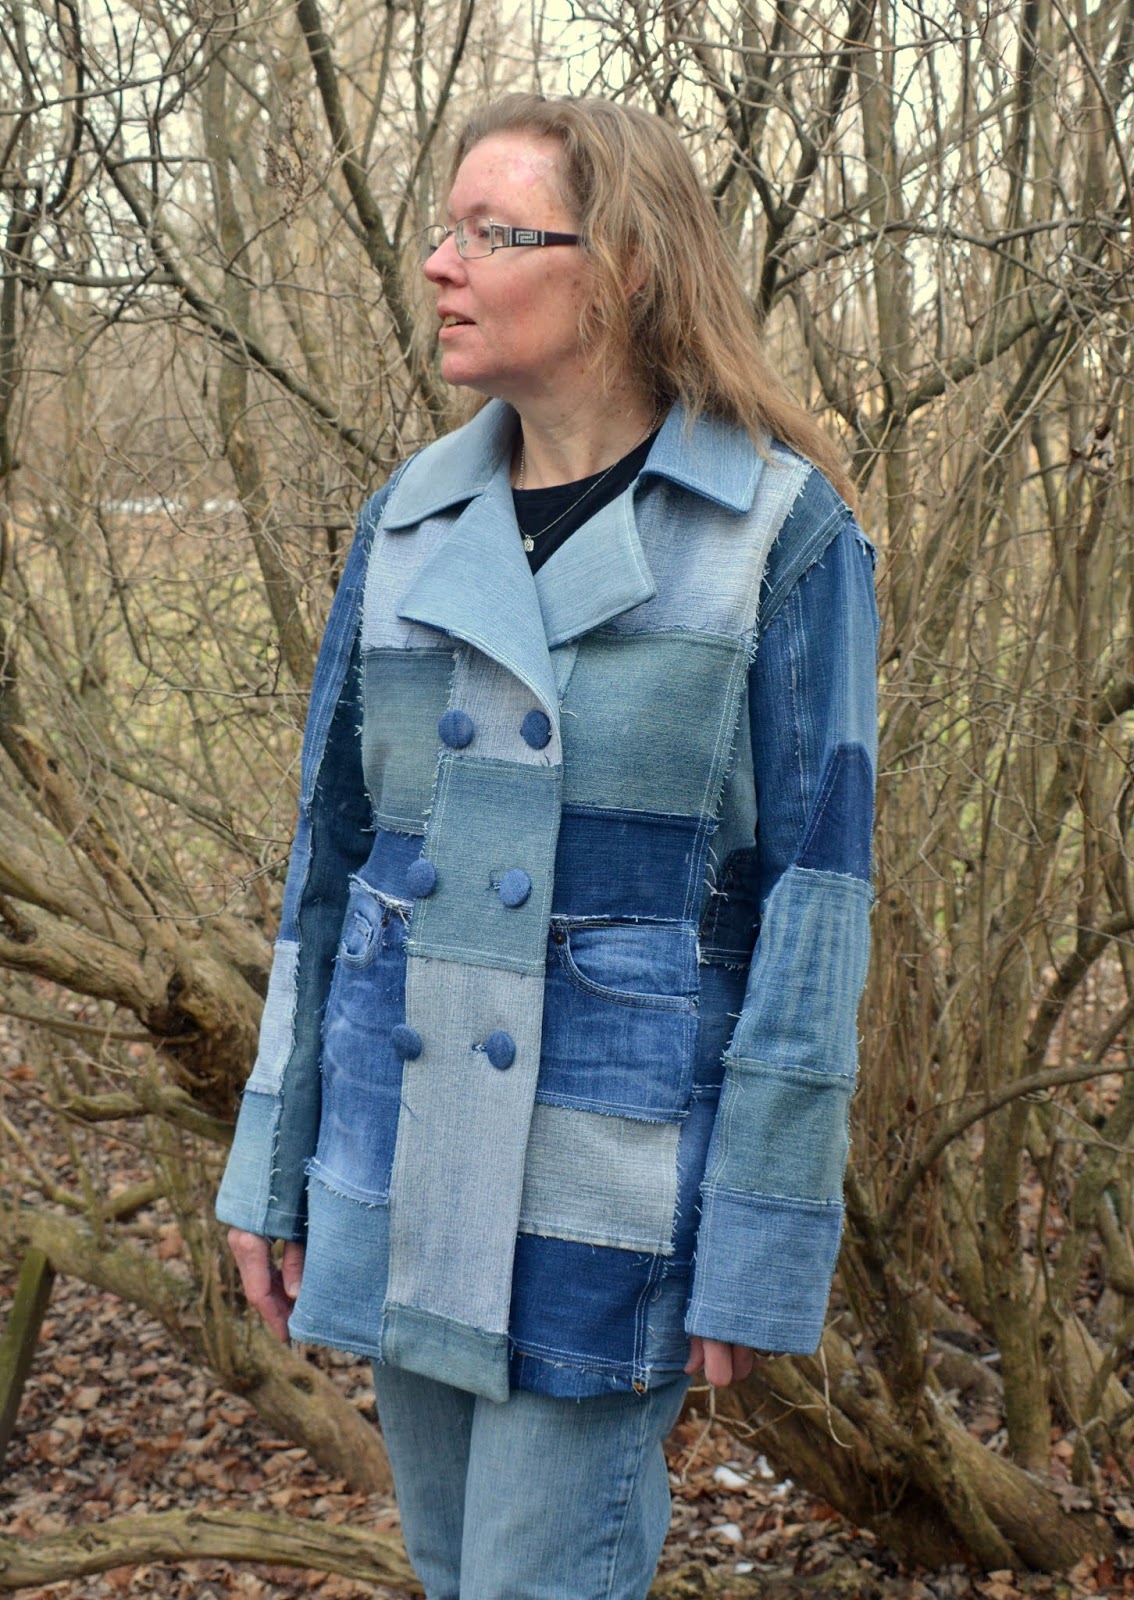
And this is what I made:


If you visit my Pinterest Board for the Challenge you can see where I found my inspiration this week.
Both of the pinks were too small in different ways. The flowered one was too small to put on and the hoodie was too short, the zipper was wonky and the sleeves were too short. There were also logos with puffy paint on the front and back of the hoodie.

The hoodie I used for the base, but it still doesn't have the best shape. It's a company pattern drafting issue and I didn't take the time to correct it this make. If you are reusing the original garment shoulders and armholes, it is important to make sure they are well fitting (note to self!).
I really like the flowers and the reused button fronts.


Figuring out my flounce. Page from this book (affiliate link)


More photos and a video about my week coming soon!