(this post contains affiliate links. Thank you!!)
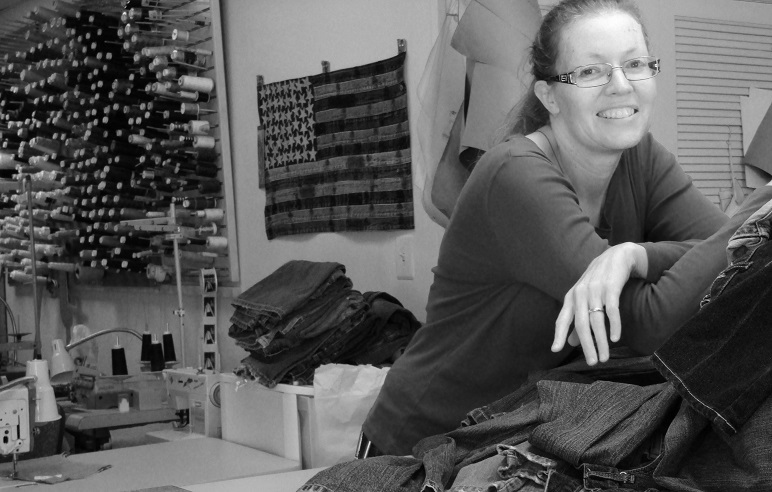
So, I've been recycling denim jeans for a while now. I'm working on creating a website, but for now the etsy shop will have to do. I'm selling in galleries and the response has been fantastic! I'm always looking for ways to make my denim more interesting and I stumbled upon the idea to add circles to my jacket and bags.
I started out cutting all the circles by hand, with a cardboard template and scissors, but you know that got old fast! Then I found these OLFA Rotary Circle Cutters and I thought I found what I needed to cut all of my circles! Nope. That too got old, and my fingers got sore. I tried many different hand held and automated cutters with frustrating results.
Finally, I tried GO! Baby Fabric Cutter . THIS was the equipment I was looking for. I still use the GO! Baby for the circles because I have two dies with various sizes, but as they get dull I will upgrade to the dies for the Accuquilt Studio Fabric Cutter.
Yup, I purchased the Studio Cutter. I had to! I use strip cutters with the Studio Cutter. It has enabled me to use up my scraps much more efficiently and cut down on the time I spend processing the jeans.
I can get the GO! Baby to cut through two layers of denim and sometimes three if I stack it correctly. The Studio Cutter doesn't even notice four layers. I do have a Star Die and a small Flower Die for the Baby as well. They haven't gotten as much use yet, but I know they will. I also look forward to trying different styles as my business grows.
The Accuquilt website states "You may use the output (i.e., the cut
shapes) resulting from the use of the die shapes Accuquilt licenses from
third parties, as well as the output resulting from the use of Accuquilt proprietary die shapes, for any commercial or private purpose". I LOVE this. Not only does the company acknowledge that their cut shapes are usable for any commercial or private purpose, they make it easy to find the information on their website.
Friday, August 11, 2017
Wednesday, July 12, 2017
Taking Better Product Photos
One of my biggest barriers to success is my product photos. My products do great in their brick and mortar locations, but online the photos are the single most important way for customers to view what they are looking to buy.
I made a couple purchases to increase my ability to take better pictures. I made my own little photo room. (affiliate links, thank you!)
First a backdrop. I use an old white sheet on the floor when I need to get a bigger view.
I sewed a casing in the piece I purchased, put it over the roll it came on and attached it to the ceiling with wire.
I also purchased a low cost kit with lights, stands and umbrellas. I did have to purchase brighter lights and they came with a diffuser, so I'm not using the umbrellas. I suggest you purchase the most expensive set up you can afford.
Photos can still be a struggle, but I think I have upped the quality with a small cost. Here is a photo of my unisex recycled patchwork poncho that is currently in the etsy shop.
Just so you know, I'm *not* good at photos. I only recently even got a smidgen of understanding about how lighting works. You can't sell online if you can't show your product in a good light. Watch videos on youtube, read a book on it. Get Adobe Photoshop Elements 15 and The Photoshop Elements 15 Book for Digital Photographers (Voices That Matter)
 to go with it. Learn all you can, I am. It hurts my brain sometimes, but its worth it!
Subscribe to:
Posts (Atom)


