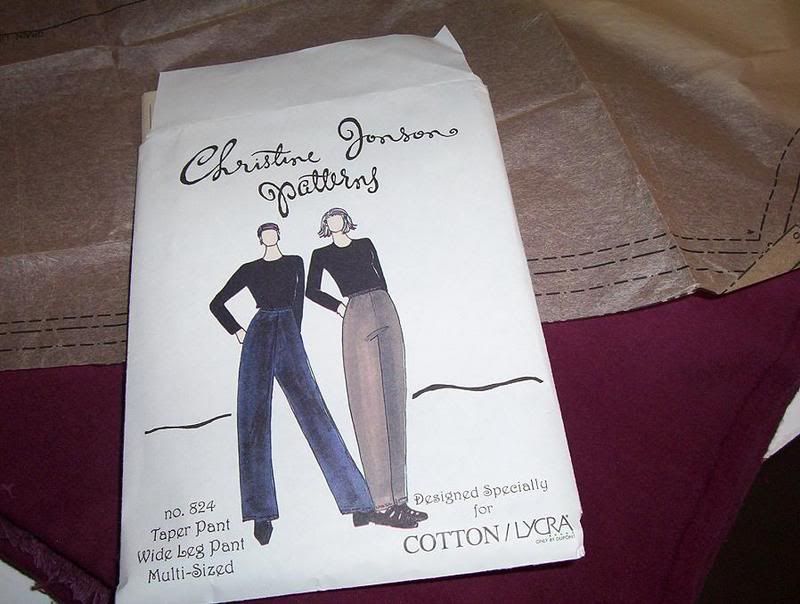
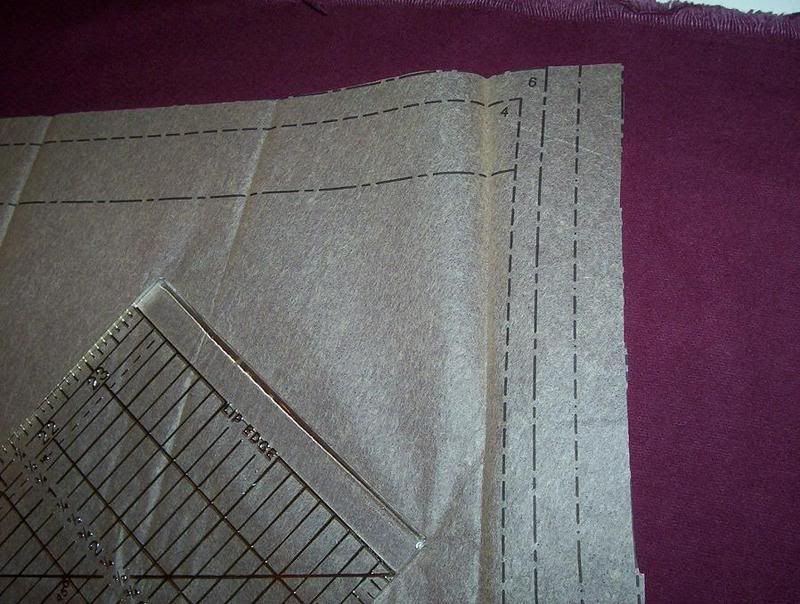
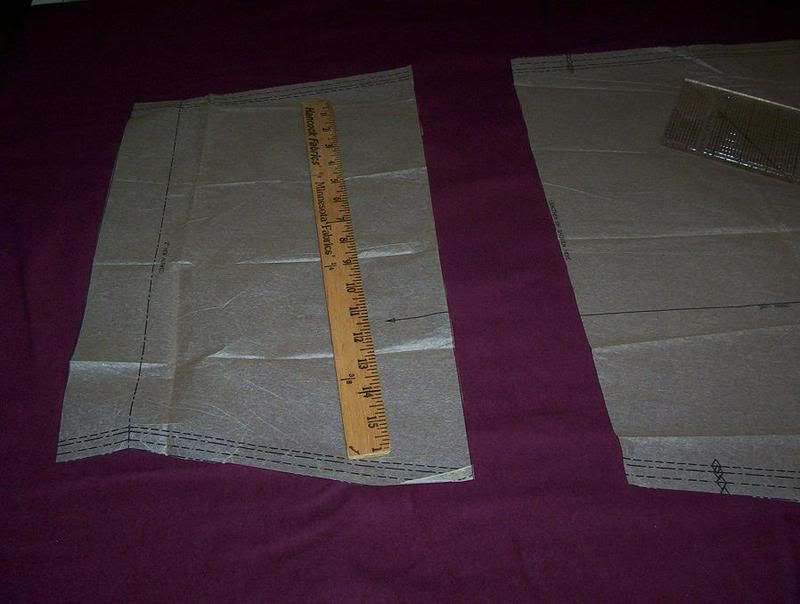
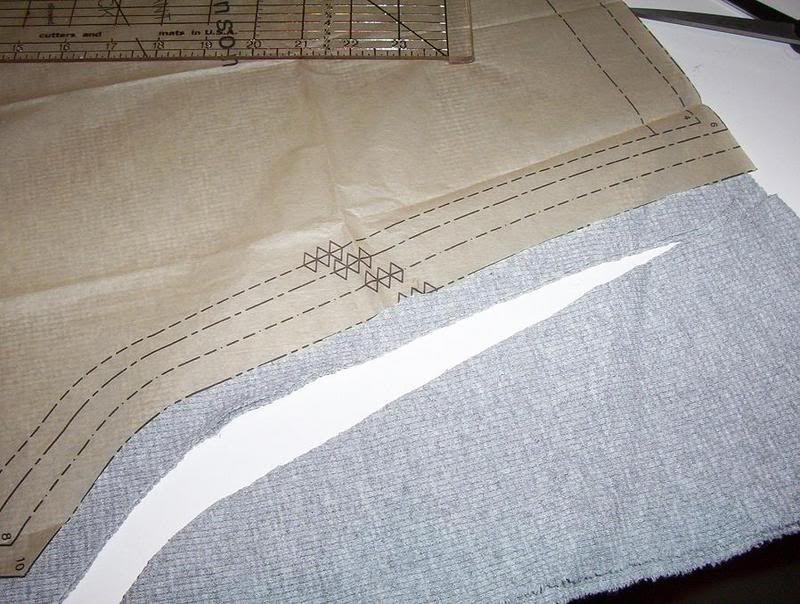
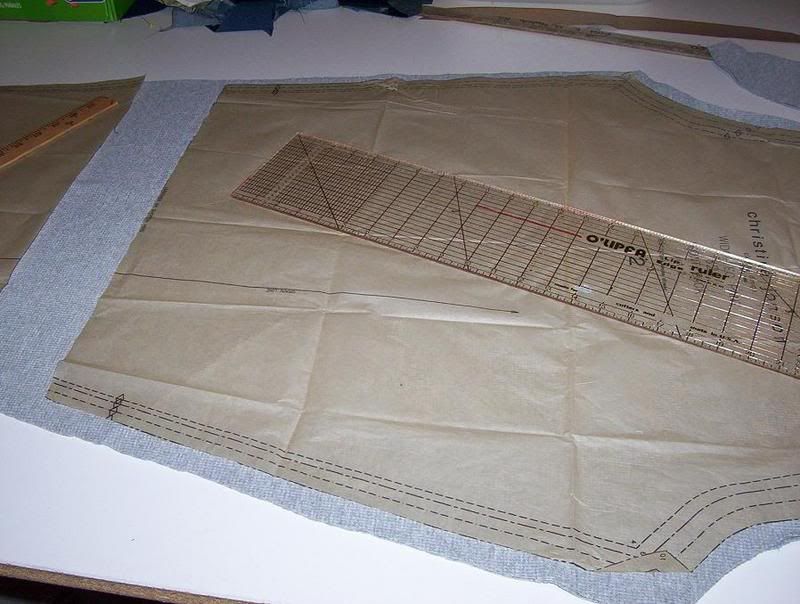
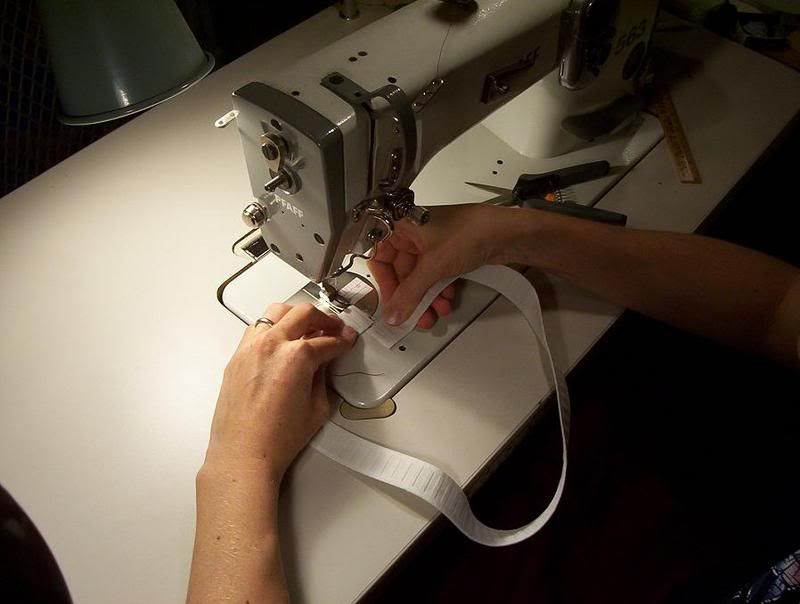
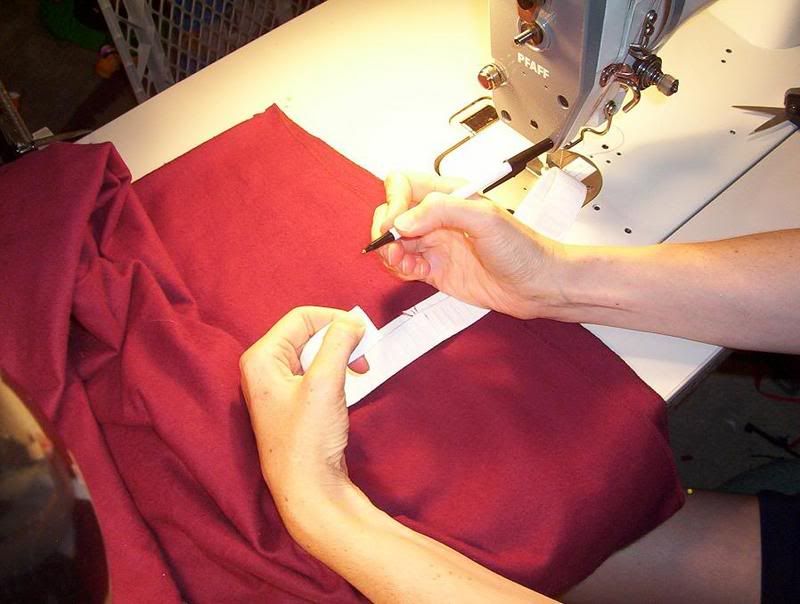
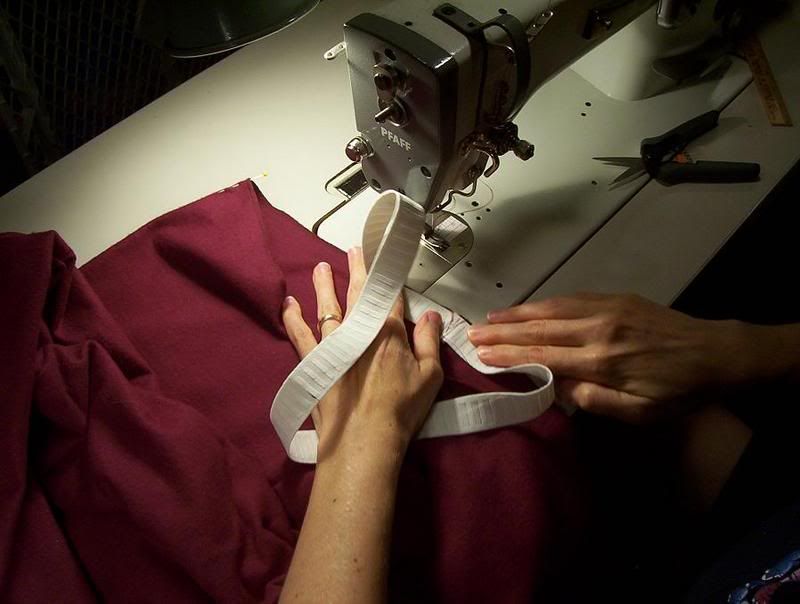
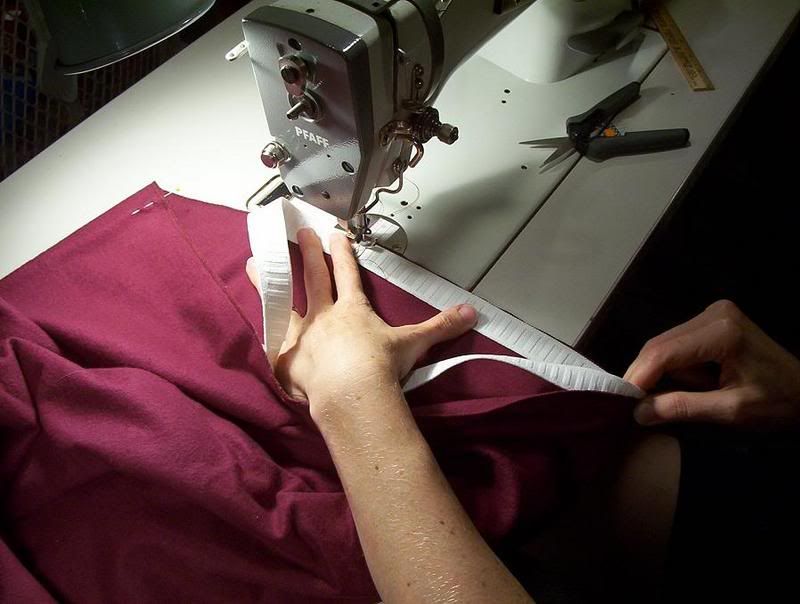
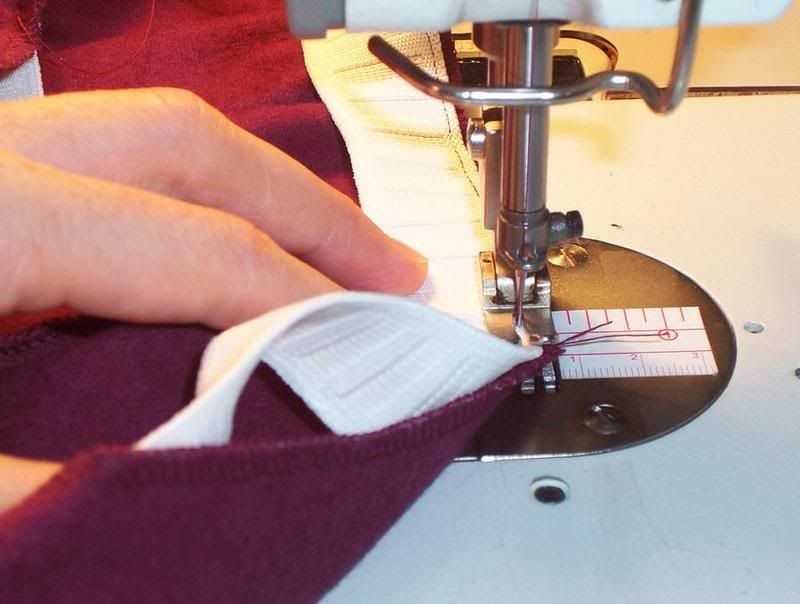
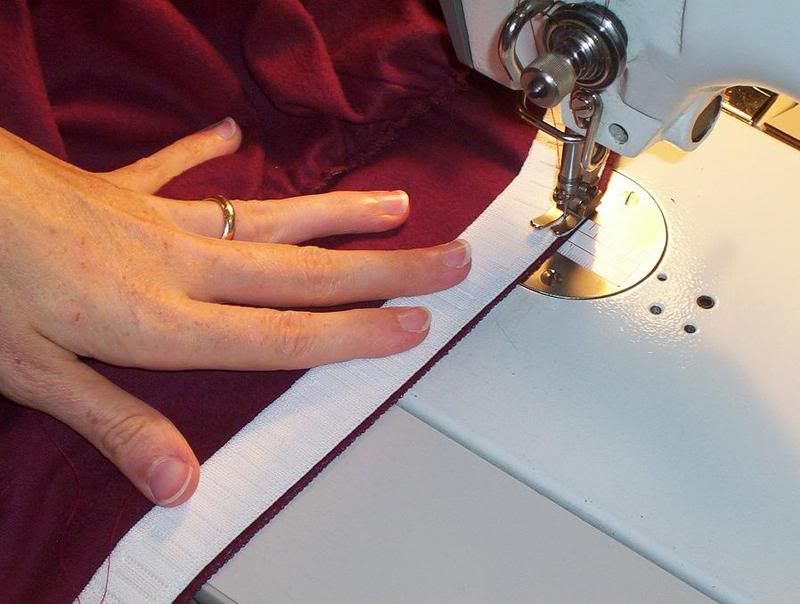
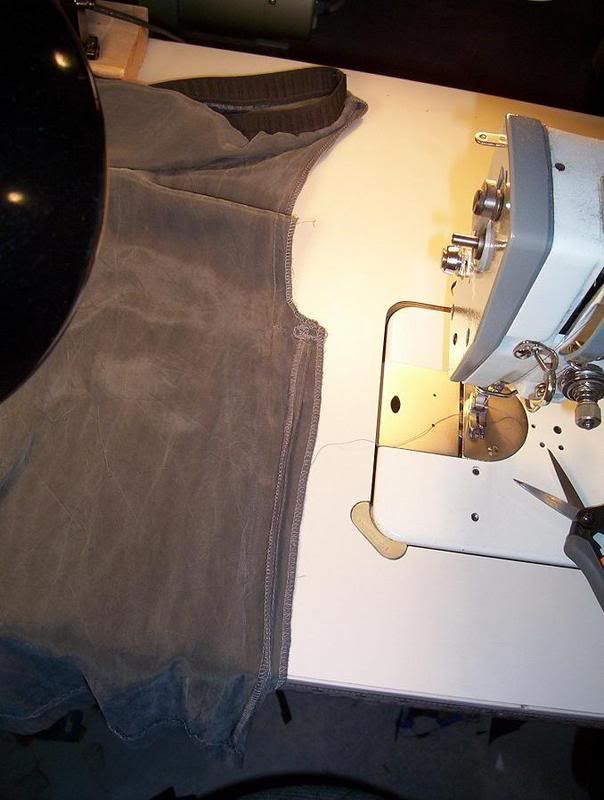
           I stitch with the wrong side up when I'm using the straight stitch machine.   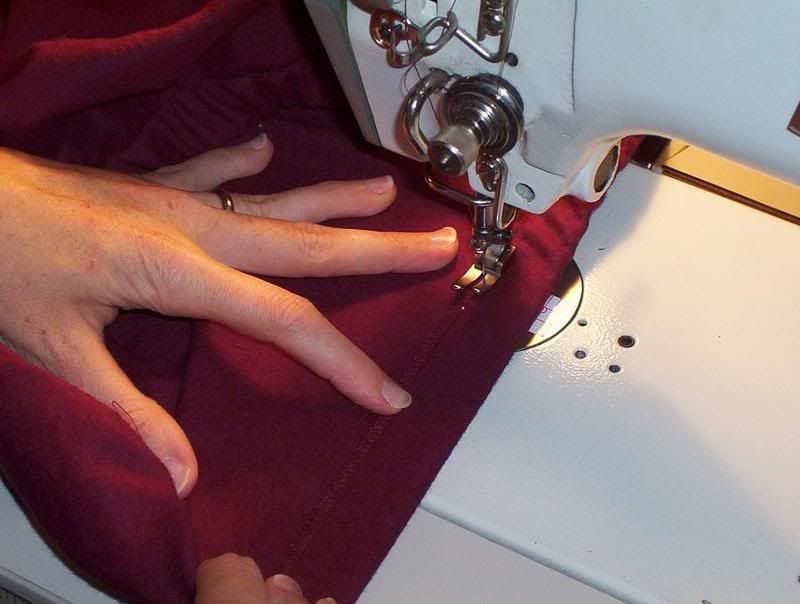 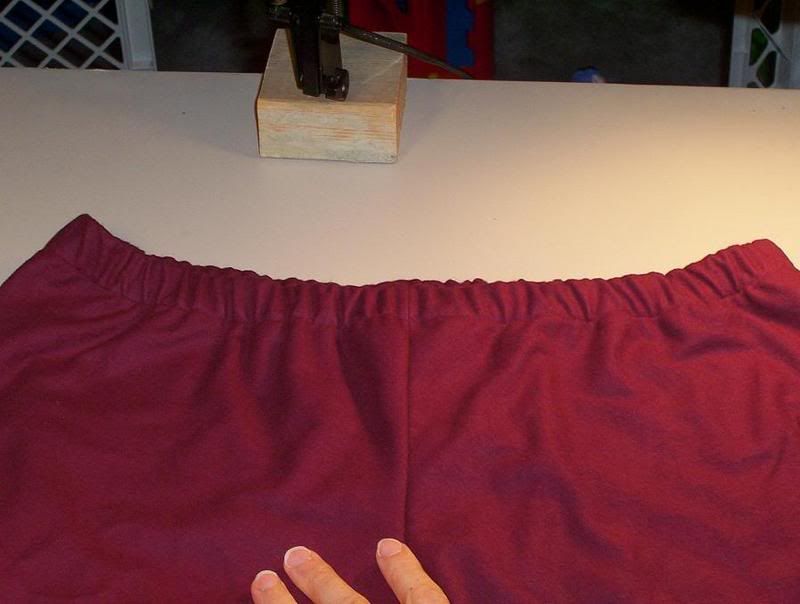 | As often as I can get away with, this is how I do an elastic waistband. I learned from Christine Jonson. I also used her Wide Leg Pant Pattern, because I'm very familiar with it and I won't be selling the finished product. I made myself some jammie pants for this winter. I show a little of the cutting process, I have cut out my pattern in a size 10. Alas, my behind has grown so I'm adding what looks right. Measure? Nah, I know approximately what I need. I made one pair out of flannel. I've had this forever and finally its becoming something useful. And the other pair is a grey poly cotton waffel knit, my favorite. I always add 4 inches to the length, I have long legs. I also took the top of the waistband down an inch or so (I cut my pattern I can't remember exactly what I did) because I like my pants to fit well below my natural waist. I suppose I will continue to do so, long after waistlines go back up again, its a matter of personal comfort. I put the pants together with the serger according to the instructions. If you don't have a serger use your favored method, though I recommend a stretch stitch on a knit. Inseams first, then crotch seams. I only use one pin where the two seams meet. Now the elastic. I cut mine about 28"ish, I'm pretty sure the pattern includes a measurement. I just haven't looked in so long. I butt the two pieces together and sew a lot to make sure it won't come undone, ever. I can hear Christine in my head telling me to make sure it is stitched well. Mark off the quarters, on the elastic and the pants. Under the needle. Needle down before I stretch. Holding my marked points together, I stretch the elastic to the length of the fabric. I do this all the way around. Now to finish. I put a bit of lace at the center back to mark it. Same concept except now the fabric is folded over to cover the elastic. I pull the fabric over the elastic taut to make it look neat. I did it once on the straight needle and once on the serger (video) to let you decide based on equipment and confidence level. Please look below at the video to see how I put the elastic in at the serger. Fabric and Elastic ready to go. 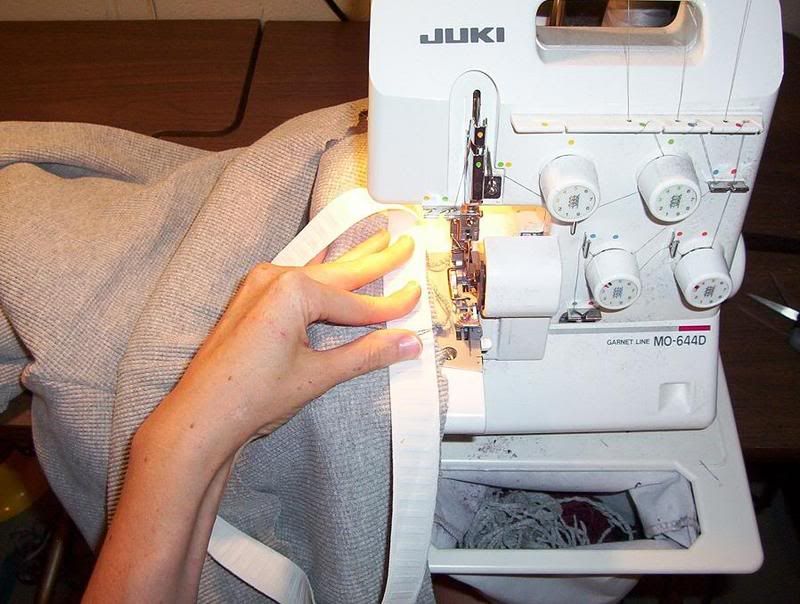 Presser foot down, needle down before I stretch the elastic.  This first video is starting and only 8 seconds we forgot to clear the camera. This second video is 30 seconds and starts where the other leaves off, but not all the way to finish, I just cross the original line of stitching and drive off. I clip close to the waistband, it is secure. I also did a double needle on the grey knit because I like to have a stretch stitch on the knit. I loosen my bobbin tension, about a 1/4 turn. The stitch should not bunch up, it should look like railroad tracks on the front and a zig zag stitch on the back (again I hear Christine's voice!). When I sew with the double needle I have the right side of the fabric up. I'm feeling the elastic with my fingers. Needle down. 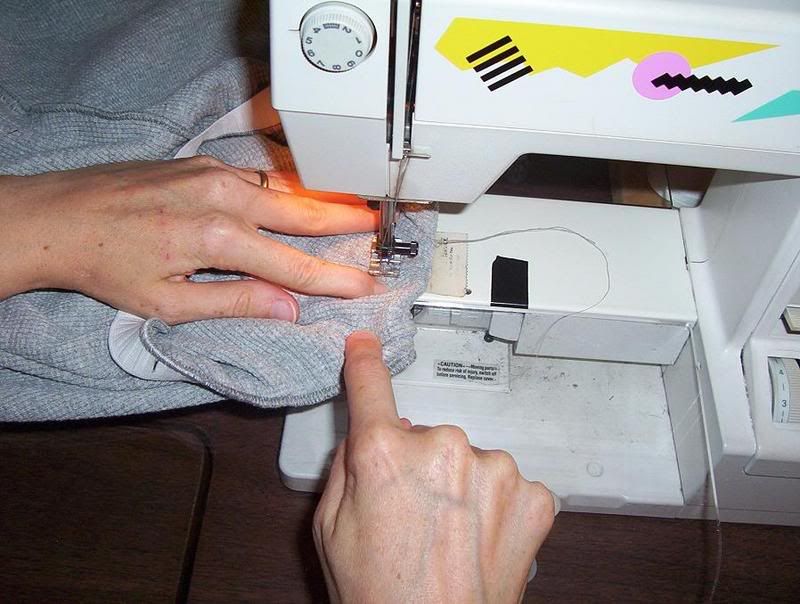 Stretched and ready to sew, my thumb now marks the end of the elastic for me. I sew just inside the elastic.  Done! Its a little off. Its hard to sew with someone standing next to you! And I couldn't put my head as close as I usually do, it was blocking the view! Not to worry, they work great. 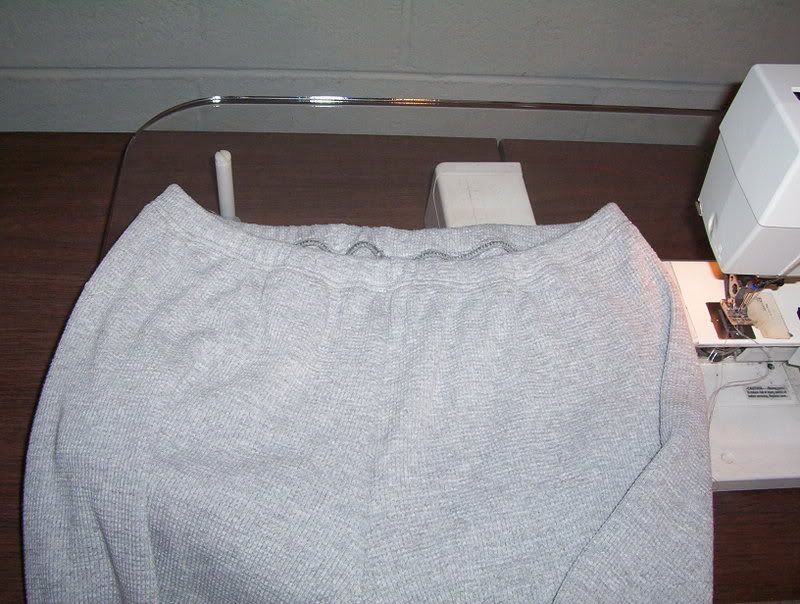 |

Saturday, August 25, 2007
Elastic Waistband
I'm afraid that the amount of pictures makes it very long to download, please let me know. Also feel free to ask questions, as always when I do things over and over its easy to forget important information! Click on any picture to enlarge for a better view!
Friday, August 24, 2007
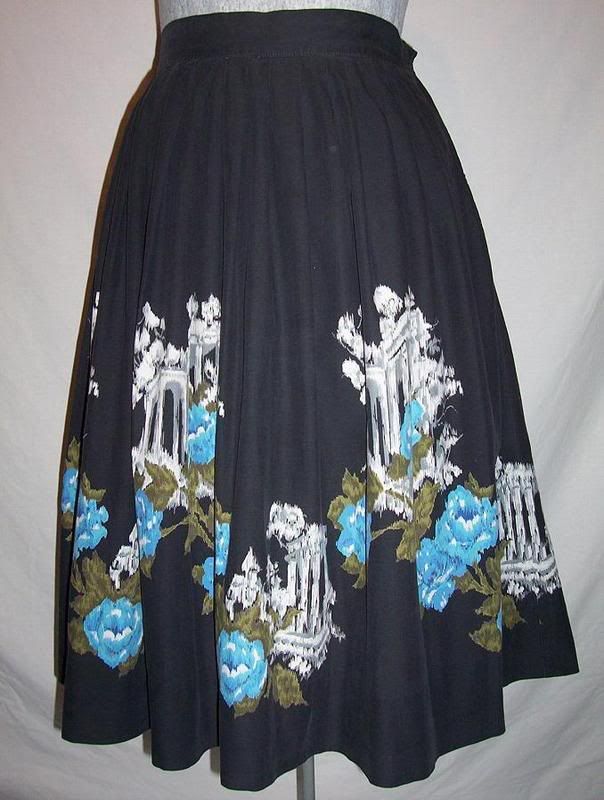
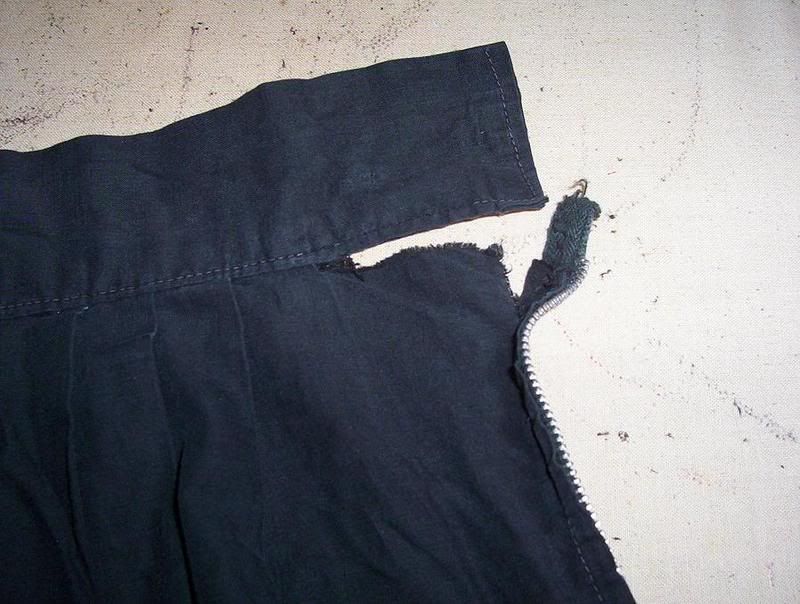
Vintage Full Skirt Repair
Click on pics for a better view.

Thursday, August 9, 2007
Reconfigured
I had to got to a wedding, I procrastinated on what I was going to wear, till the night before, as usual...
I knew by this time with not even a plan, I wasn't going to be fashionable, but due to a larger butt than normal, I REALLY didn't have anything to wear.
I'm always picking up things secondhand, mostly because I buy vintage to sell on various online venues. And because I like textiles and I'm cheap....
So I dove into the pile and came up with this. Sorry for the poor picture. I was in a hurry. The pics get better because it was working and I started to hurry less. And for a better view of any of the pics please click to open in a new window.
First it should be noted that this will only work for someone who is relatively straight figured (like me), no hourglasses will be fitted here. But you can take a look anyway, it might inspire you!
I know I have left out pertinent information! Please ask questions I'll clarify. I understand how pattern companies have trouble with instructions. Once I do things so many times it is difficult to point out every step. Hail to the good teachers...
I really wanted to get another post up. Its been a month since I posted here. This wedding was also June 6th so this is late going up too. I will show you how the skirt turned out, but I want to clean it first, I managed to get ranch dressing on the front of it!
I knew by this time with not even a plan, I wasn't going to be fashionable, but due to a larger butt than normal, I REALLY didn't have anything to wear.
I'm always picking up things secondhand, mostly because I buy vintage to sell on various online venues. And because I like textiles and I'm cheap....
So I dove into the pile and came up with this. Sorry for the poor picture. I was in a hurry. The pics get better because it was working and I started to hurry less. And for a better view of any of the pics please click to open in a new window.
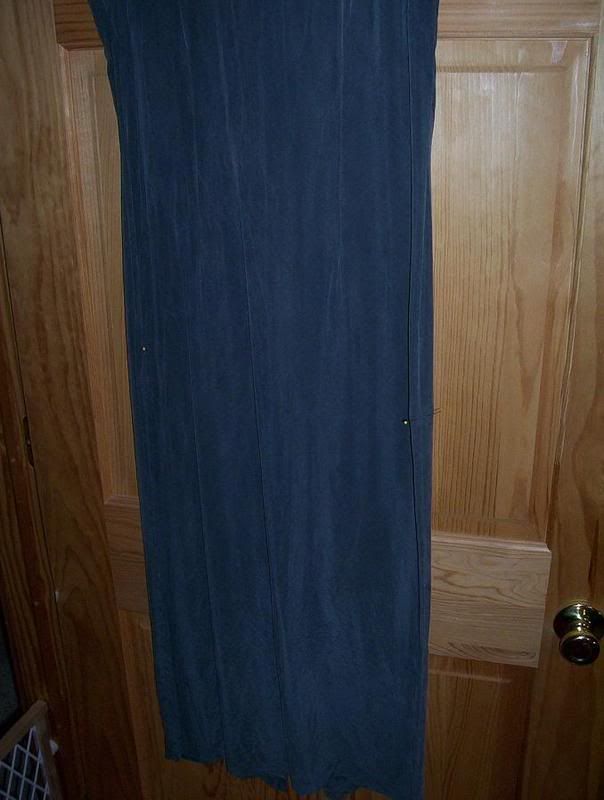
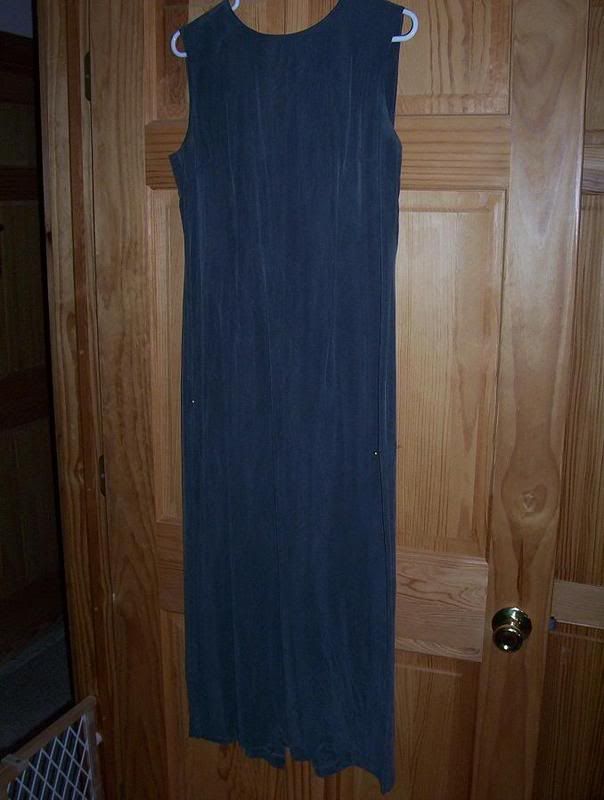 | I like the color, grey, I'm boring. I like the fabric, its polyester but feels like washed charmeuse. But I hate one piece dresses, they never fit at the waist, and this one was particularly uncomfortable because it was made for someone with bird arms and cut into me at the underarms. It has a jacket (or shirt) so I, in this late hour of need, decided to make it into a skirt. |
|---|
First it should be noted that this will only work for someone who is relatively straight figured (like me), no hourglasses will be fitted here. But you can take a look anyway, it might inspire you!
 | While I was looking in the mirror I tugged up the hem a little to see where I could have the skirt fit and be past the zipper, no playing with zippers! You can see my marks were a little off each other but I feel more confidant with what my right hand marks so I use that mark, I guess the other side is for amusement purposes... |
|---|
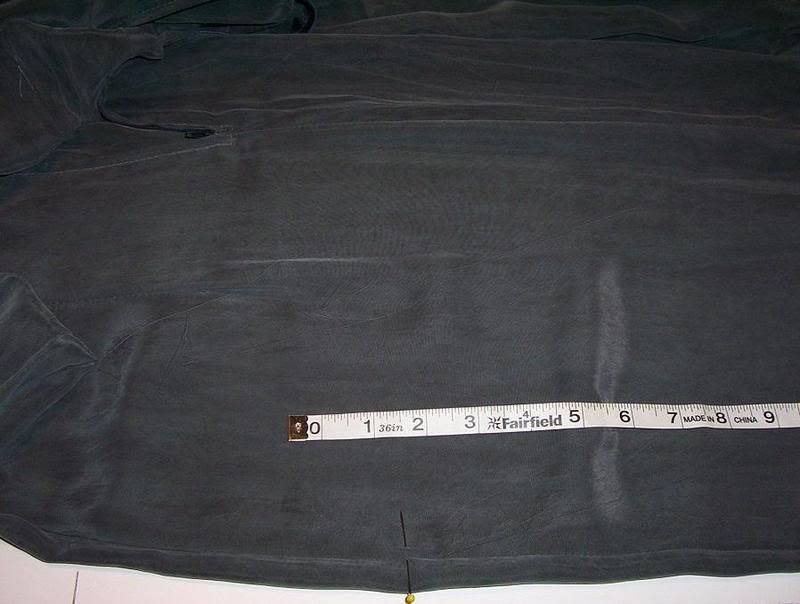 | I lay it out on the table to even up my two sides and to measure where I'll be cutting. I added about 1 1/2" above the pins for the waist band foldover. |
|---|
 | This is how long it will be, remember I'm in a hurry! You can be more exact. |
|---|
 | My chalk line. |
|---|
 | Cut and serged. |
|---|
 | Normally I would just serge the elastic in. (Pinned at quarters) This time I wasn't sure how it would turn out so I wanted less picking if the need should arise. |
|---|
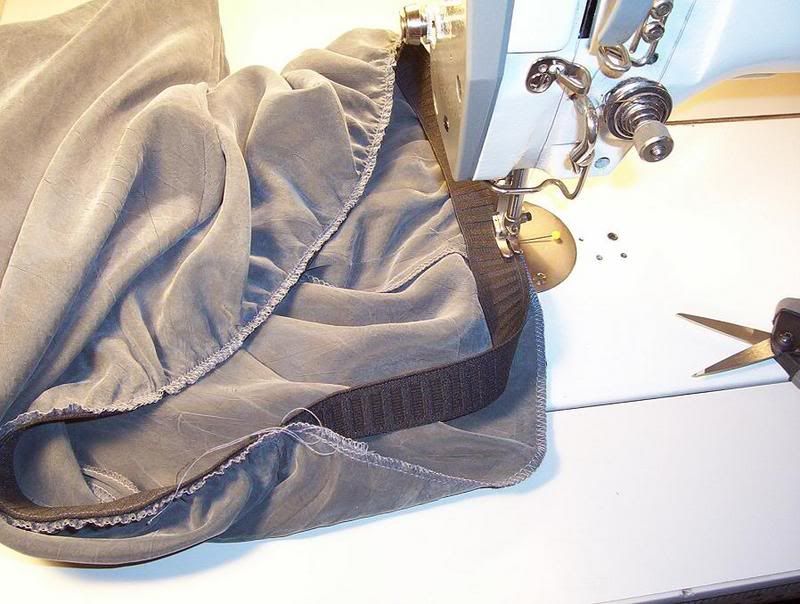 | Another view of elastic going in. |
|---|
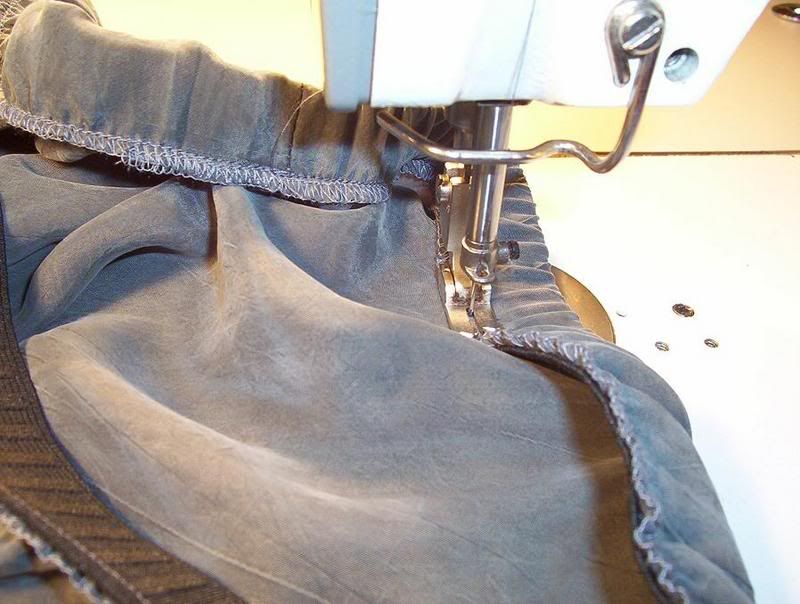 | Elastic turned and stitched down again. |
|---|
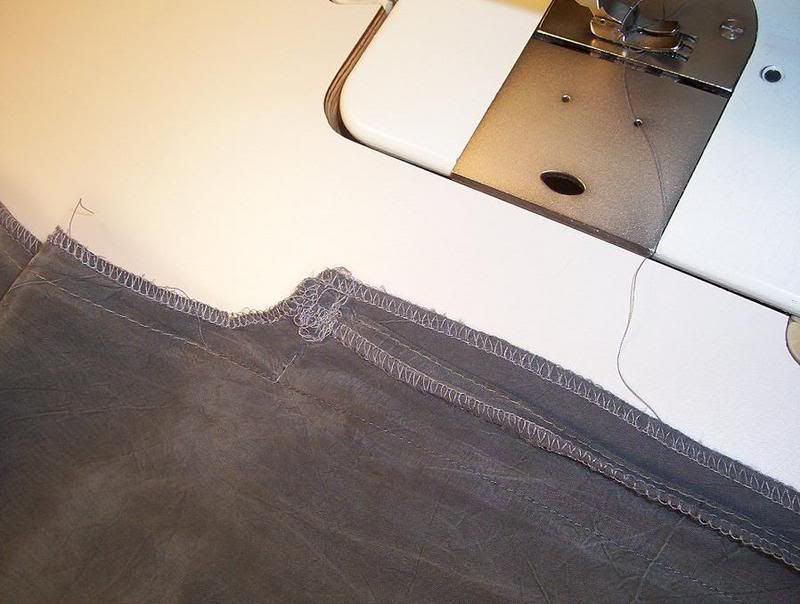 | And since I pulled the skirt up to adjust fit I had to shorten the slit. |
|---|
 | Another view of the slit. |
|---|
I know I have left out pertinent information! Please ask questions I'll clarify. I understand how pattern companies have trouble with instructions. Once I do things so many times it is difficult to point out every step. Hail to the good teachers...
I really wanted to get another post up. Its been a month since I posted here. This wedding was also June 6th so this is late going up too. I will show you how the skirt turned out, but I want to clean it first, I managed to get ranch dressing on the front of it!
Subscribe to:
Posts (Atom)